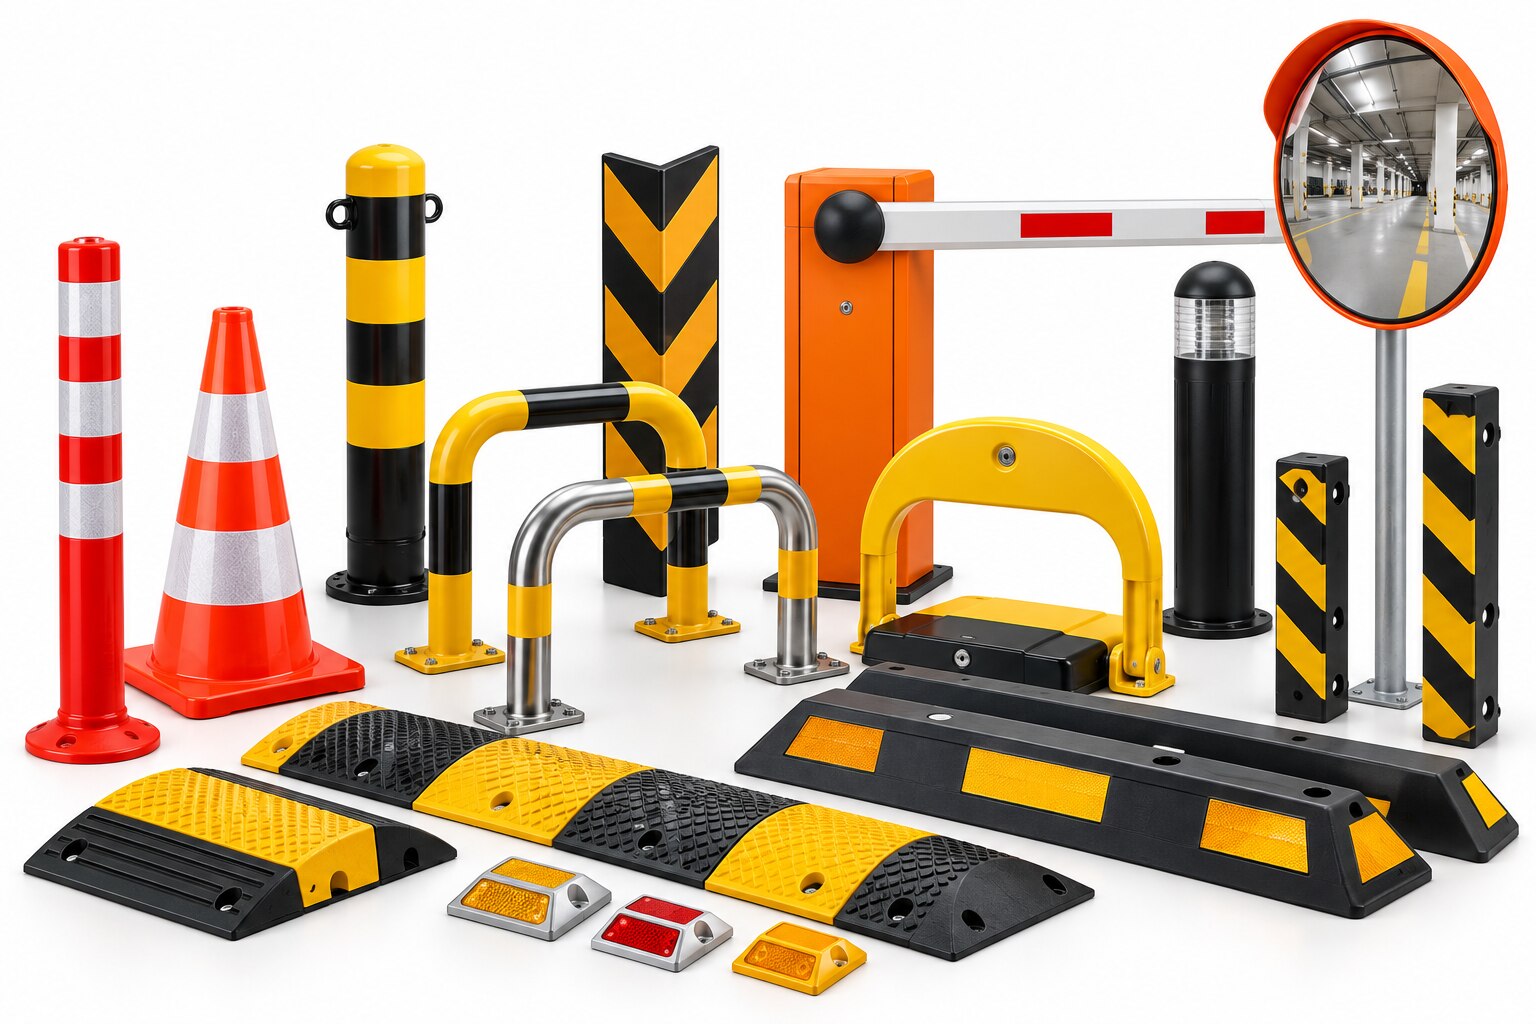
Poor movement plans create the same recurring problems: pedestrians cross through turning paths, vehicles queue at blind exits, and safety equipment narrows the routes it was meant to protect. You will be able to map those conflicts, choose controls for each movement problem, and give a supplier the measurements and performance requirements needed for a workable installation.
Key takeaways
- Observe shift changes, deliveries and waste collection before selecting equipment.
- Combine barriers, markings and signs into one movement plan.
- Keep accessible routes, fire access and workplace aisles clear.
- Give suppliers dimensions, traffic types and operating conditions for accurate installation.
Map every movement before choosing equipment
A reliable map begins with observation, not equipment. Trace vehicle and pedestrian movement during shift changes, deliveries, customer arrivals and waste collection, then mark where paths cross, queue or disappear from view. Include entrances and exits, loading areas, forklift turning envelopes, rack ends, dock approaches, crossings and blind corners.
Use movement mapping to record each conflict in four steps:
- Draw every vehicle route, including reversing paths, turning envelopes and areas where parked vehicles can overhang a walkway.
- Trace pedestrian desire lines from parking bays, building doors, staff facilities, bus stops and delivery points, even when people ignore the painted route.
- Mark queue points, crossing points and locations where a driver’s sightline is blocked by a wall, rack, trailer, landscaping or parked vehicle.
- Observe speed, horn use, stopping distance and peak traffic volume; a crossing that appears safe at midday can fail when forklifts and pedestrians arrive together.
Compare each location by what you find there:
| Location | What to trace | Conflict signal |
|---|---|---|
| Driveway exit | Vehicles turning into the road and people approaching the gate | A driver must enter the crossing before seeing a pedestrian |
| Loading area | Reversing arcs, dock approaches and walking routes | People cross behind reversing vehicles |
| Blind corner | Sightlines, approach speed and stopping distance | Neither party can see the other early enough |
| Parking aisle | Bay depth, vehicle overhang and pedestrian route | A bumper or wheel stop narrows the walking path |
Mark the highest-risk zones on the plan before deciding whether a mirror, barrier, sign, crossing treatment or speed control belongs there.
Build one movement plan instead of placing isolated products
Treat the site as one movement plan, not a collection of products. Link vehicle paths, pedestrian routes, parking bays, loading points and conflict zones so each control leads people toward the next safe decision; an isolated barrier can simply push pedestrians into a live lane.
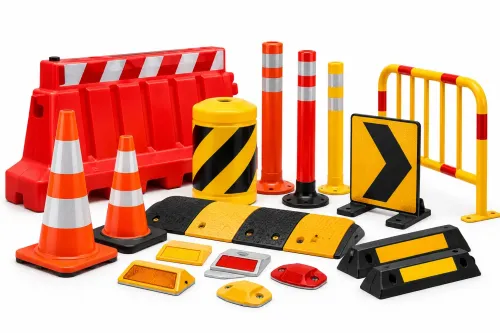
- Set the wheel stopper position from the vehicle’s front overhang, parking-bay depth, wall clearance, vehicle mix and adjacent walkway width. Keep the stopper from reducing the accessible route’s 36-inch continuous clear width.
- Put speed breakers before pedestrian crossings, not on top of them, and place signs where drivers must choose a direction, yield or slow down.
- Use mirrors at blind exits only after removing sight obstructions; a mirror cannot make excessive approach speed safe.
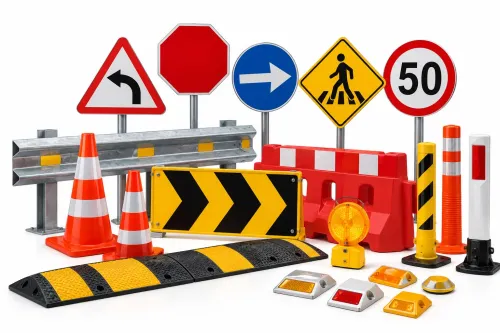
- Use cones for short-duration changes and crashworthy drums, barricades and sign supports for temporary traffic exposure. Heavy or highly visible equipment is not automatically crashworthy under MASH.
- Keep posts, signs and barriers outside the pedestrian clear path. If a route is narrower than 60 inches, preserve 60-by-60-inch passing spaces at intervals no greater than 200 feet.
The bollard versus barrier decision depends on the movement you need to control:
| Option | Primary job | Place it when |
|---|---|---|
| Wheel stopper | End a parked vehicle’s travel | A bay needs repeatable parking control without blocking walking space |
| Bollard | Protect a fixed pedestrian edge or asset | Vehicle overrun is possible but people need a continuous route |
| Barrier | Separate or redirect moving traffic | A temporary conflict point requires a visible, extended boundary |
Protect accessible routes, fire access and workplace aisles
Set the layout around the widest required envelope, not the painted line. An accessible parking space needs a 60-inch access aisle connected to an accessible route; van parking uses either a 96-inch space with a 96-inch aisle or a 132-inch space with a 60-inch aisle. Keep wheel stops and bollards outside the pedestrian clear path.
Check these constraints before fixing equipment:
- Keep a fire apparatus access road at least 20 feet wide and 13 feet 6 inches high, unless the fire code official approves another dimension. Measure beneath canopies and signs, between gates, and around parked vehicles or snow storage.
- Mark permanent workplace aisles, keep them clear, and leave enough room for forklift turning envelopes, rack ends, dock approaches and a forklift pedestrian crossing. A painted centreline does not prove safe clearance.
- Do not close a sidewalk by redirecting people into a vehicle lane. Provide a detectable, accessible and reasonably direct temporary route separated from moving traffic.
- Confirm fire-lane wording, colours, curb markings and enforcement with the local fire authority; no single nationwide layout applies everywhere.
| Control | Clearance or operating constraint | Consequence if ignored |
|---|---|---|
| Wheel stopper | Set it from vehicle overhang, bay depth and walkway width | A bumper or pedestrian route gets obstructed |
| Bollard | Place outside the accessible route’s clear width | Protection creates a new access barrier |
| Barrier | Preserve fire-road and forklift operating envelopes | Separation blocks emergency or material movement |
Match each control to the hazard and its operating conditions
Configure each device for the decision and hazard it controls: sightline, speed, separation, route protection or driver attention. A highly visible device in the wrong position can narrow an aisle, hide a pedestrian or redirect vehicles into another conflict.
| Control | Configuration | Operating condition |
|---|---|---|
| Convex mirror | Mount at the blind exit or cross-aisle approach, angled to show the full opposing path; keep its face clean and unobstructed. | Use it to supplement slow travel, horn use and clear sight lines at forklift intersections; it does not replace them. |
| Solar blinker | Aim the flashing unit toward approaching drivers and place it at the hazard or decision point, not after it. | Use solar blinker use where power is unavailable and nighttime or low-light recognition matters; prevent glare toward pedestrians and operators. |
| Water-fillable barrier | Interlock sections, fill them to the manufacturer’s operating level and keep them outside the accessible route. | Use it for temporary separation; confirm the model is crashworthy before exposing it to moving traffic. |
| Traffic cone | Select cones at least 28 inches high, with retroreflective bands suited to the road condition; use 36-inch cones where speed or visibility demands it. | Set traffic cone spacing to the approved work-zone plan, because random gaps invite vehicle entry. |
| Sign | State one action, such as STOP, KEEP CLEAR or NO ENTRY, and place it before the decision point. | Use prescribed MUTCD colours, shapes and retroreflectivity in public-road or temporary traffic-control areas; avoid unofficial signs that resemble regulatory signs. |
Do not treat weight or brightness as proof of crashworthiness. Temporary devices exposed to traffic need a MASH-evaluated design where the application requires it.
Give the supplier a site brief that can produce a usable installation
A supplier cannot produce a usable installation from “add barriers near the entrance.” Send a scaled plan, vehicle dimensions, pedestrian routes, delivery times and photographs, then require a written supplier site survey before ordering.
1. Mark every entrance, exit, blind corner, loading point, crossing, queue and conflict zone. Ask the supplier to show each proposed sign, mirror, cone, barrier, blinker, wheel stopper or bollard on that plan.
2. Request an equipment specification naming dimensions, materials, fixing method, visibility, operating temperature, power source and replacement parts. Confirm that wheel stoppers leave the accessible route clear, including a 60-inch access aisle and the required van-accessible arrangement.
3. Ask for crashworthiness evidence for cones, drums, barricades, sign supports and barriers exposed to traffic. “Heavy-duty” is not proof; request the applicable MASH evaluation or acceptance record.
4. Make the supplier identify the sign’s decision, wording, colour, shape, mounting height and retroreflectivity. If it resembles a MUTCD sign, verify that its design will not conflict with public-road meanings.
5. Confirm anchoring, drainage, visibility at night, clearance for fire apparatus and approval from the local fire code official where fire-lane markings are proposed.
6. Obtain an inspection routine stating who checks loose fixings, damaged reflective surfaces, displaced cones, blocked aisles and failed blinkers, and how defects are recorded.
INNOVATIVE SAFETY SOLUTIONS can use this information to distinguish a wheel stopper for parking control from a barrier intended for vehicle separation.
Related products
 | Parking Safety Car stopper - By Innovative Enterprises (Safetywala), Ambad, Nashik 📞 Contact: Mr. Mayur R. View product → |
 | Road Safety Equipments By Innovative Enterprises (Safetywala), Ambad, Nashik 📞 Contact: Mr. Mayur R. View product → |
Frequently asked questions
What should you map before choosing parking safety equipment?
Trace vehicles and pedestrians during shift changes, deliveries, customer arrivals and waste collection. Mark entrances, exits, loading areas, forklift turning envelopes, rack ends, dock approaches, crossings, queues and blind corners.
Why use one movement plan instead of isolated safety products?
A single plan shows how barriers, signs, markings and other controls work together at crossings, queues and restricted areas. It prevents one product from redirecting people or vehicles into another hazard.
How do you protect accessible routes, fire access and workplace aisles?
Keep accessible paths continuous and unobstructed, preserve clear fire-vehicle access, and maintain aisle widths required for the equipment and loads in use. Check these routes after installation, not only on the drawing.
What information should you give a parking safety equipment supplier?
Provide a site plan, dimensions, vehicle and pedestrian volumes, operating speeds, turning paths, delivery times, visibility problems, surface details, drainage, mounting constraints and the exact locations of accessible routes and fire access.
Related products
 | Road Safety Interlocking Water/Sand Fillable Barrier Interlocking Water Fillable Barrier - By Innovative Enterprises (Safetywala), Ambad, Nashik 📞 Contact: Mr. Mayur R. View product → |
 | Road & Workplace Safety ₹250 🚧 Traffic Safety Cones – By Innovative Enterprises (Safetywala), Ambad, Nashik 📞 Contact: Mr. Mayur R. View product → |
 | Road Safety Composite Speed Breaker - By Innovative Enterprises (Safetywala), Ambad, Nashik 📞 Contact: Mr. Mayur R. View product → |
 | Road Safety Water Fillable Barrier (Interlocking) Water Fillable Barrier (Interlocking) - By Innovative Enterprises (Safetywala), Ambad, Nashik 📞 Contact: Mr. Mayur R. View product → |