A traffic-control product only improves safety when it matches the road layout, vehicle speed, pedestrian movement, visibility and impact risk at the site. By the end, you will be able to plan device locations, compare portable products, specify what to buy and recognise when trained traffic control or engineered protection is necessary.
Key takeaways
- Measure vehicle, pedestrian and emergency routes before selecting control products.
- Separate people, vehicles and work areas on a documented traffic plan.
- Use tapers, buffers and exclusion zones to guide traffic safely.
- Inspect visibility, signs and portable equipment throughout each work shift.
Assess the Site Before You Choose Any Traffic-Control Product
Collect site measurements and movement data before choosing any traffic-control product. Your traffic-management site assessment should record vehicle paths, pedestrian paths, work areas, entrances, exits, delivery routes and emergency access, then show them on a traffic-management plan.
- Measure road width, corner radii, gradients, drainage points, overhead clearances and the distance between moving vehicles and workers.
- Record vehicle types, peak volumes, operating speeds, reversing movements, loading times and the largest emergency or service vehicle that must pass.
- Mark pedestrian crossings, accessible routes, bicycle and motorcycle movements, blind corners, escape paths and locations where people wait or queue.
- Check stopping sight distance, night lighting, glare, rain, dust, noise and visibility of existing signs. Painted lines alone do not control vehicle–pedestrian conflict.
- Identify the consequence of an intrusion. A cone line suits channelisation; meaningful worker exposure may require tested positive protection with documented foundation, spacing and installation details.
| Product | Check before selection | Use only when |
|---|---|---|
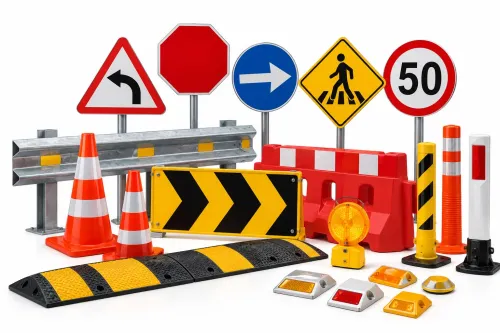
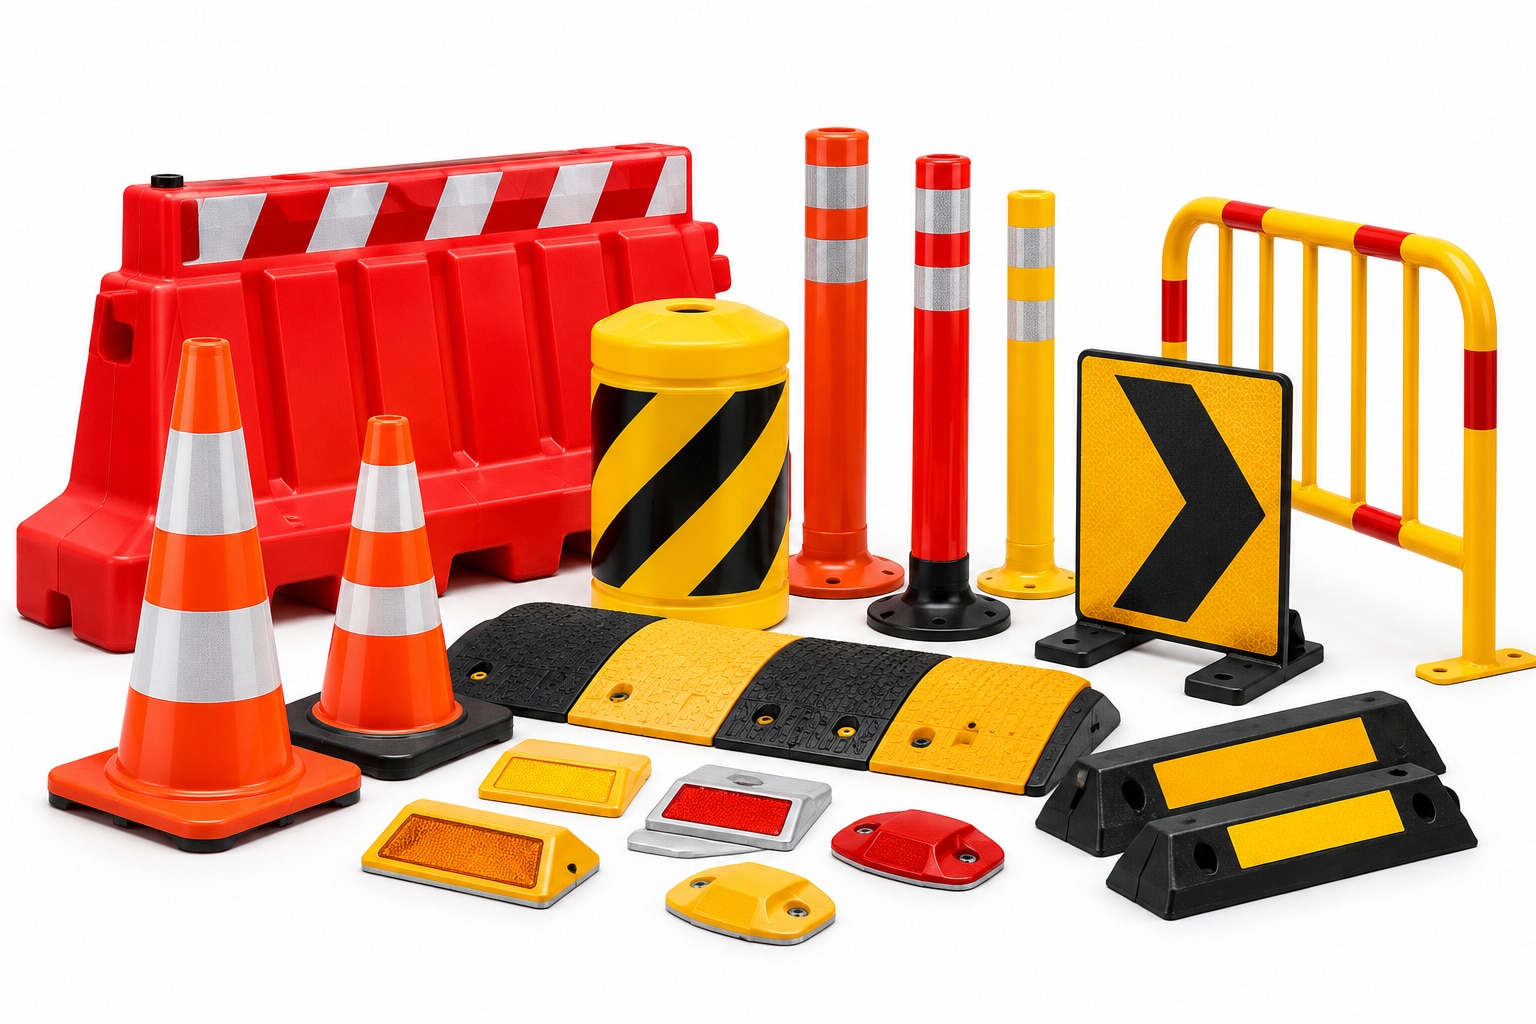
| Cones | Speed, visibility, wind and required separation | You need temporary channelisation, not impact protection |
| Barriers or fencing | Intrusion risk, deflection, ballast and escape routes | The system’s tested performance suits the hazard |
| Signs | Approach speed, sight distance, mounting and lighting | Drivers have enough time to read and act |
| Speed breakers | Drainage, emergency routes, accessibility, bikes and approach visibility | The feature will not obstruct essential movement |
A convex mirror helps at a blind corner but does not assign right of way or show distance reliably. Pair it with physical separation, lighting and a controlled junction.
Build a Traffic Plan That Separates People, Vehicles and Work
Turn the assessment into a drawing with one continuous route for each road user, then test every crossing before choosing devices. Mark work zones, vehicle lanes, pedestrian paths, entrances and exits, delivery routes, and emergency access on the same plan.
A route that looks clear on paper fails when a reversing truck crosses it or a gate pushes pedestrians into traffic.
Build the plan in this order:
- Keep the pedestrian route continuous, detectable and separate from moving vehicles. Provide an alternative route when a walkway closes; never direct people into the carriageway or an unprotected work area.
- Maintain at least 60 inches of clear pedestrian width where U.S. accessibility guidance applies. Include barrier feet, ballast, sign supports and temporary ramps in that measurement.
- Give vehicles a defined entry, travel direction, turning area and exit. Mark controlled crossings where the vehicle path intersects the pedestrian path.
- Schedule deliveries away from peak pedestrian movement, and keep the emergency route unobstructed, wide enough for the intended response vehicle and accessible from the public road.
Use physical separation in yards and compounds; painted lines alone do not control a vehicle–pedestrian conflict. Choose a barrier instead of a cone line when speed, exposure time, worker proximity or intrusion consequences make channelization inadequate. Confirm the barrier’s tested performance and installation requirements.
A convex mirror can reveal a blind corner, but it does not assign right of way or show distance accurately. Pair it with separation, lighting, a controlled junction and a speed suitable for the available stopping sight distance.
Place Devices to Create a Clear Taper, Buffer and Exclusion Zone
A gap in a cone line invites a vehicle to enter the work area. Start the traffic taper upstream where drivers have enough distance to recognise the restriction, then align cones so the route changes gradually rather than turning sharply. Keep the through lane, pedestrian route and work space visibly separate.
Use these placement rules:
- Set cone spacing according to approach speed and the governing roadwork standard. As a U.S. MUTCD benchmark, taper spacing is no more than the speed in feet at speeds up to 45 mph, and 1.5 times the speed above 45 mph; use closer spacing on curves, at night or where glare and dust reduce recognition.
- Continue the line at a consistent tangent spacing through the work area. Mark the taper’s start with advance signs and its end with a clear return to normal alignment; do not let the final cone appear to terminate beside an open hazard.
- Keep barriers or temporary fencing continuous around the exclusion zone, with feet and ballast outside the pedestrian clear width. A 60-inch accessible route is a common U.S. benchmark, so measure around every base, sign support and ramp.
Place the buffer zone between moving traffic and the exclusion zone; keep it free of workers, materials and parked equipment. Cones provide channelization, not vehicle protection. Choose tested positive protection when speed, exposure time, worker distance, escape paths or intrusion consequences demand it, and follow its installation and deflection requirements.
Install speed breakers only where drivers have approach visibility and drainage, emergency access, bicycle, motorcycle and accessibility needs have been checked.
Match Visibility, Signage and Daily Maintenance to Real Conditions
Keep the route readable by matching directional indicators and hazardous signage to the conditions drivers and pedestrians will actually face. Use retroreflective sheeting with the correct viewing angle, clean it when dust or mud covers the surface, and aim signs so headlights strike them rather than wash across them.
Add lighting where rain, glare, shadows or a complex diversion hides the message.
Run a short inspection at opening and after any change in traffic flow:
- Check signs, cones and barriers for dirt, tears, fading, missing reflective bands and displacement.
- Confirm ballast remains secure after wind, rain or vehicle contact.
- Walk the route at night to check legibility, glare and dark gaps; record the result for night traffic management.
- Recheck sight distance after deliveries, parked vehicles, excavation progress or a changed work boundary.
Do not treat a convex mirror as a substitute for right-of-way control: it distorts distance and speed, so pair it with physical separation, suitable lighting and a speed that allows stopping within the visible route. Replace damaged or displaced devices immediately, and keep spares on site.
Do not modify a crash attenuator by changing modules, spacing, supports or offset; use the tested configuration. Reassess speed humps after drainage, emergency access or cyclist movements change.
Specify, Operate and Reassess Portable Road-Safety Equipment
Ask the supplier for written supplier specifications covering dimensions, retroreflective bands, ballast or fill quantities, wind stability, tested impact performance, installation, cleaning, inspection intervals, spare quantities and replacement after impact. Include the product’s operating temperature and any limits for traffic speed, vehicle type or placement.
Keep a daily record for damaged, displaced, dirty or ineffective devices. Replace a cone when it is cracked, leaning, missing reflective material or too light for the site; replace road fencing when panels, feet or connections no longer hold a continuous boundary.
Empty water-fillable barriers before freezing conditions and inspect every joint after a vehicle strike.
Use this replacement checklist:
- Replace channelizing devices with engineered positive protection when workers face vehicle intrusion, traffic is fast, the work lasts long enough to increase exposure, escape paths are limited or an intrusion could cause serious injury.
- Use a trained traffic-control crew when traffic must be stopped, released alternately, diverted through a live junction or managed around deliveries and emergency access.
- Rework speed breaker selection when the device obstructs drainage, emergency routes, bicycles, motorcycles or accessibility, or drivers cannot see it early enough.
- Treat convex mirrors as supplementary: they show blind corners but do not establish right of way or reliably show distance and speed.
INNOVATIVE SAFETY SOLUTIONS can help you compare cones, road fencing and barriers against the documented site limits rather than choosing by appearance. Reassess after a collision, route change, heavy rain, night-work change or near miss. Painters’ lines alone do not protect pedestrians where vehicles and people share a yard.
Related products
 | Road & Workplace Safety ₹250 🚧 Traffic Safety Cones – By Innovative Enterprises (Safetywala), Ambad, Nashik 📞 Contact: Mr. Mayur R. View product → |
 | Road Safety By Innovative Enterprises (Safetywala), Ambad, Nashik 📞 Contact: Mr. Mayur R. View product → |
Frequently asked questions
What should you assess before choosing traffic-control products?
Record vehicle paths, pedestrian paths, work areas, entrances, exits, delivery routes and emergency access, then show them on a traffic-management plan.
How should a traffic plan separate people, vehicles and work?
Mark distinct routes and work areas, control crossing points, and keep emergency access open while preventing vehicle entry into pedestrian and work zones.
How do you create a clear taper, buffer and exclusion zone?
Place cones, barriers and signs in a sequence that guides vehicles through the taper, protects the buffer, and keeps people outside the exclusion zone.
What should you check when matching road-safety equipment to site conditions?
Check visibility in daylight and darkness, sign placement, traffic speed, weather exposure, pedestrian movement and the equipment’s condition during daily inspections.
How should portable road-safety equipment be managed?
Specify each item for its location and purpose, train users to place it correctly, inspect it each shift, and reassess the layout when site conditions change.
Related products
 | Road Safety Interlocking Water/Sand Fillable Barrier Interlocking Water Fillable Barrier - By Innovative Enterprises (Safetywala), Ambad, Nashik 📞 Contact: Mr. Mayur R. View product → |
 | Road Safety By Innovative Enterprises (Safetywala), Ambad, Nashik 📞 Contact: Mr. Mayur R. View product → |
 | Parking & Road Safety ₹1300 500x250x50 View product → |
 | Safety Signage & Indicators By Innovative Enterprises (Safetywala), Ambad, Nashik 📞 Contact: Mr. Mayur R. View product → |