Drivers need enough time to see, understand and act on each instruction, while workers and pedestrians need hazards identified from the direction they approach. By the end, you will be able to plan a sign sequence, set placement and visibility requirements, select hazard and work-zone devices, and evaluate whether a manufacturer is supplying a complete, maintainable system.
Key takeaways
- Sequence signs from advance warning through end-of-restriction confirmation.
- Place signs using approach speed, sight distance and road geometry.
- Use symbols, messages and reflective materials suited to night viewing.
- Match cones and hazard signs to the work-zone risk and layout.
Build the Traffic-Guidance Sequence Before Choosing the Sign Panel
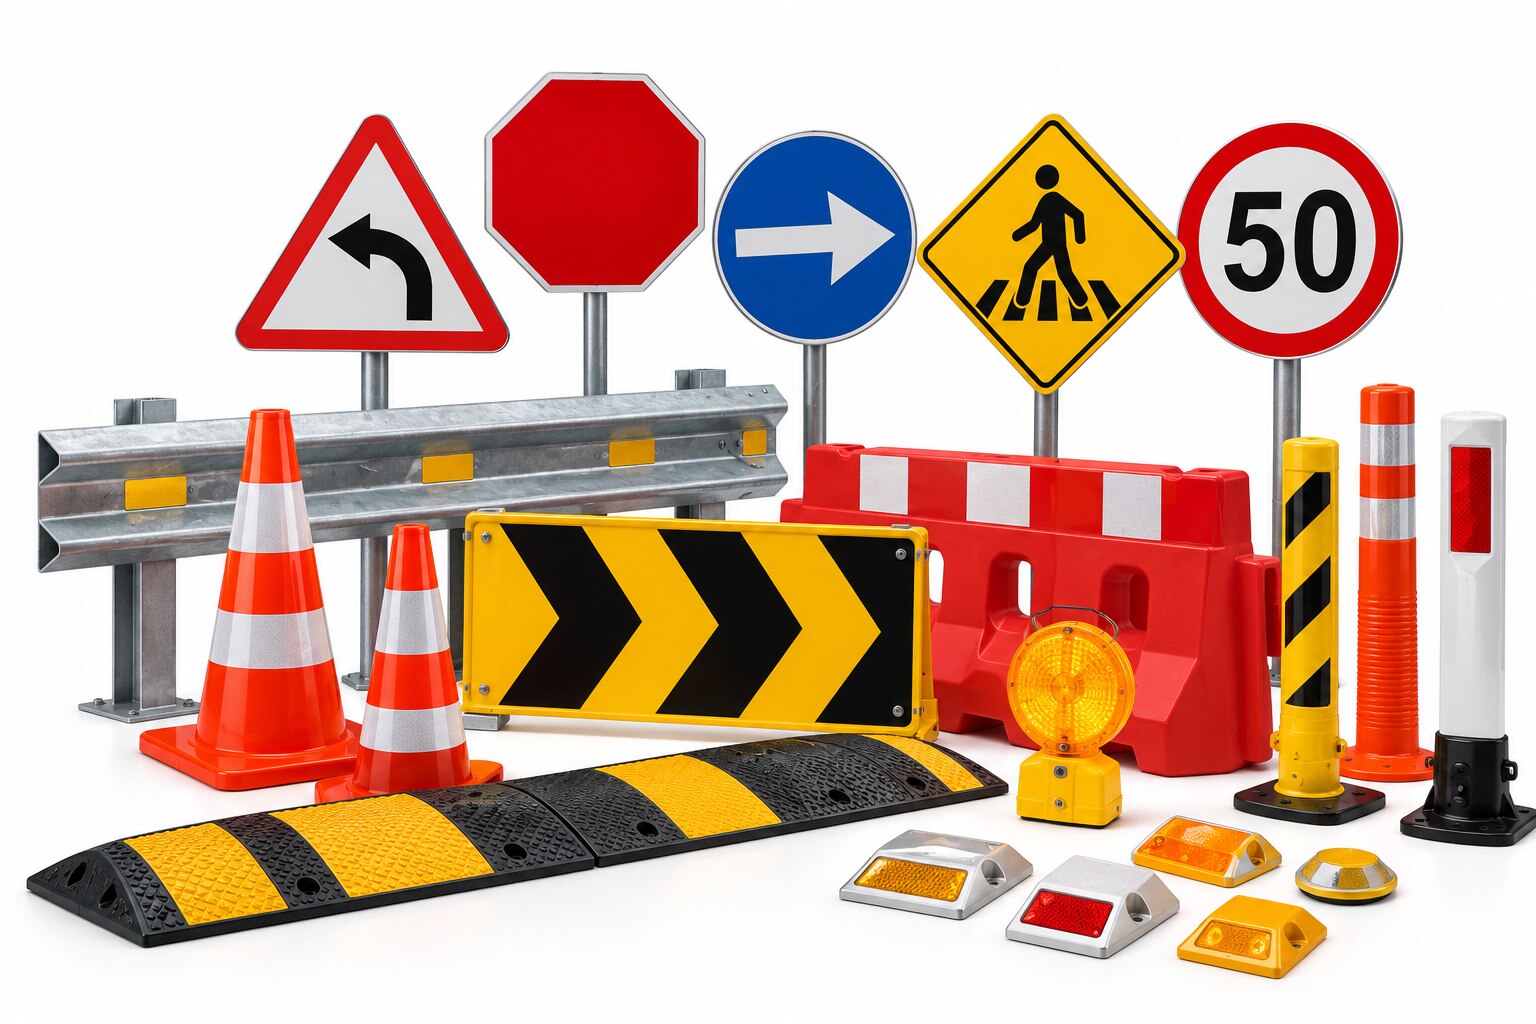
Guide drivers through five ordered stages: advance warning, transition, work-zone protection, route direction and end-of-restriction confirmation. A correct message placed in the wrong sequence can leave a driver braking after the taper, entering a closed lane, or missing a detour.
| Stage | Driver needs | Supporting control |
|---|---|---|
| Advance warning | Time to recognise the hazard and reduce speed | Repeated warning signs, distance plates and speed guidance |
| Transition | A clear instruction to merge or change path | Tapers, arrows, cones and a visible merge point |
| Work-zone protection | A continuous boundary between traffic and workers | Cones, barriers, drums, lighting and flagger control |
| Route direction | Confirmation of the usable lane, exit or detour | Route direction signs with consistent arrows and destinations |
| End of restriction | Proof that the temporary control has ended | End-of-road-work, speed-restoration or restriction-ending sign |
Use the temporary-traffic language consistently. Work-zone warning signs generally use orange backgrounds, while permanent warning signs use yellow; substituting a yellow panel can weaken recognition of a temporary traffic pattern. Keep workplace signs separate: OSHA 29 CFR 1910.145 uses danger, caution and safety-instruction conventions that do not replace road guidance.
Build the sequence against IRC:67 Code of Practice for Road Signs and the applicable Ministry of Road Transport and Highways Manual of Specifications and Standards for Four-Laning of Highways.
Specify the sign face together with mounting, ballast, supports and compatible work-zone protection, then check that vegetation, vehicles, advertisements and other devices cannot obscure the driver’s next instruction.
Set Sign Placement Around Speed, Sight Distance and Road Geometry
A sign belongs far enough upstream for a driver to detect it, read it, decide, and act before reaching the hazard. Set that distance from approach speed, required stopping distance, and available sight distance—not from a standard panel size.
Measure the approach from the driver’s eye position. A curve, crest, dip, junction, parked vehicle, vegetation, or narrow lane can hide a sign or reduce the time available for a lane change. On a work zone, place advance signs before the first taper and repeat guidance when the route changes.
Use this placement checklist:
- Confirm the measured sight distance exceeds the distance needed to read the message and complete the manoeuvre. Letter-height calculations, such as those used in the MUTCD, estimate legibility distance; they do not prove that the chosen location provides enough decision time.
- Recheck sign placement on curves, hills, skewed junctions, and approaches with changing lane width. A sign aimed at one traffic stream can face away from another.
- Keep the panel clear of trees, advertisements, utility equipment, barriers, and other signs. Check the view at night with actual headlamp illumination.
- Apply the road authority’s design basis, such as IRC:67 or the applicable MoRTH highway specification, for mounting position, lateral clearance, repetition, and temporary traffic control.
If stopping distance extends beyond the visible approach, move the warning upstream, reduce the required manoeuvre speed, or add an earlier sign. Do not compensate for inadequate geometry by installing a larger panel alone.
Specify Messages, Symbols and Night Visibility for Real Viewing Conditions
A sign works only if a driver can read its message, recognise its symbol and see it at night before the required manoeuvre. Set letter height from the available legibility distance and decision time, not from a standard panel size.
Use IRC:67 and the MoRTH Manual of Specifications and Standards for Four-Laning of Highways for road wording, symbols, colours and layouts.
1. State one action or hazard per sign. Replace “Diversion Ahead Please Proceed Carefully” with a short, specific message such as “DIVERSION” and an arrow. Avoid abbreviations, crowded supplementary plates and arrows that point away from the approaching movement.
2. Choose a symbol that drivers recognise without translation. Use the prescribed road symbol in IRC:67; use an ISO 7010 symbol for a workplace hazard only when that symbol suits the assessed risk. Symbol standardisation does not decide mounting height, viewing distance or site placement.
3. Specify daytime colour and contrast separately from night performance. Name the retroreflective sheeting class and require a white, yellow or orange face that contrasts with its background. ASTM D4956 categories, including engineering-grade, high-intensity and prismatic sheeting, describe material performance—not guaranteed readability at every angle or speed.
4. Inspect the installed sign from the driver’s approach after dark. Check headlamp return, glare, dirt, fading, torn sheeting and obstructions; a bright-looking daytime face can disappear at night. Record the viewing distance and replace the sign when degradation removes the warning margin.
Match Hazard Signs and Cones to the Risk and the Work-Zone Layout
A cone line cannot compensate for a hazard sign that names the wrong risk. Select the sign and control together: use temporary work-zone warning panels for changing traffic patterns, with the colour convention required in your jurisdiction; in the United States, orange identifies temporary work-zone warnings, while yellow identifies permanent warnings.
- For live electrical exposure, place high-voltage signage at every approach and restrict access with barriers rather than cones alone.
- For fuel, solvents or gas cylinders, use flammable material signage, remove ignition sources and keep the storage area outside vehicle paths.
- For leaks, drums or contaminated ground, use chemical hazard signs that identify the substance and isolate the area until it is assessed.
- For open trenches, pits or uneven edges, install excavation signs before the approach, then add solid barriers, edge protection and safe pedestrian routing.
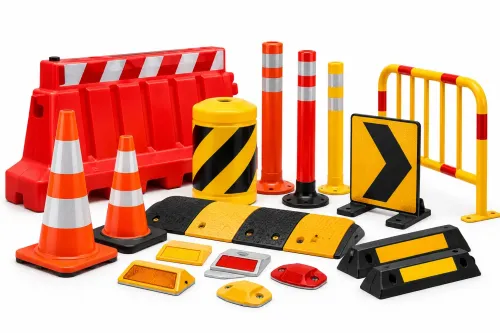
Match the device to traffic conditions. Use cones to define a visible taper and lane boundary, but use barriers where vehicles could enter a drop, excavation or work crew. Increase device spacing and add lighting or flashing beacons where speed, darkness, dust, rain, curves or opposing traffic reduce recognition.
Keep every panel, cone and barrier aligned with the temporary route; vegetation, mud, parked equipment or incorrect orientation can erase a clear message. Confirm the complete assembly, including ballast, supports and anchorage, remains stable under wind and impact exposure.
Buy the Complete Sign Assembly and Verify Its Performance Over Time
Buy the assembly as a tested, documented system, not as a printed panel. Require the manufacturer to define the face, substrate, frame, sign supports, fasteners, foundation or ballast, edge treatment, corrosion protection and impact exposure. A weak post or loose anchor can rotate the message, obstruct a sightline or become a roadside hazard.
Ask the road safety signages manufacturer for:
- The sheeting type and performance evidence under ASTM D4956, distinguishing engineering-grade, high-intensity and prismatic materials.
- The applicable EN 12899-1 performance class and conformity evidence for fixed signs, including retroreflection, daytime colour, luminance, durability and resistance to wind load.
- The design basis for wind loading? Record the sign area, mounting height, exposure, post spacing, foundation depth and ballast, rather than accepting “weatherproof” as proof.
- Load, corrosion and impact details for sign supports, plus the grade and protective treatment of posts, brackets, bolts and anchors.
- A drawing showing dimensions, hole positions, orientation, edge clearance and the replacement parts that match the assembly.
A quote from INNOVATIVE SAFETY SOLUTIONS is useful only when these details appear in the specification and delivery records, not solely on an invoice.
Set an inspection interval and record each check. Clean dirt without scratching the sheeting, verify orientation and anchor tightness after storms or impacts, and replace faces when retroreflection, colour, structural integrity or message legibility falls below the project requirement. Retroreflectivity returns headlamp light; it does not prove daytime brightness or readability at every approach angle.
Related products
 | Safety Signage & Indicators By Innovative Enterprises (Safetywala), Ambad, Nashik 📞 Contact: Mr. Mayur R. View product → |
 | Road Safety By Innovative Enterprises (Safetywala), Ambad, Nashik 📞 Contact: Mr. Mayur R. View product → |
Frequently asked questions
What sequence should traffic-guidance signs follow?
Use five stages: advance warning, transition, work-zone protection, route direction and end-of-restriction confirmation.
What determines where a road safety sign is placed?
Set placement around approach speed, available sight distance and the road’s geometry so drivers receive guidance before each decision point.
How do you choose signs for night visibility?
Specify the message, symbol and reflective performance for the real viewing conditions, including night-time approach and vehicle headlamps.
How should cones and hazard signs be selected for a work zone?
Match them to the identified risk and the work-zone layout, including the transition, protected area and route drivers must follow.
Related products
 | Road & Workplace Safety ₹250 🚧 Traffic Safety Cones – By Innovative Enterprises (Safetywala), Ambad, Nashik 📞 Contact: Mr. Mayur R. View product → |
 | Road Safety Equipments By Innovative Enterprises (Safetywala), Ambad, Nashik 📞 Contact: Mr. Mayur R. View product → |
 | Road Safety By Innovative Enterprises (Safetywala), Ambad, Nashik 📞 Contact: Mr. Mayur R. View product → |
 | Road Safety By Innovative Enterprises (Safetywala), Ambad, Nashik 📞 Contact: Mr. Mayur R. View product → |